Before you edit your website

We've prepared some tips to help you streamline the process for editing your website.
Prepare to edit your website with these helpful tips.
Have two tabs open for editing
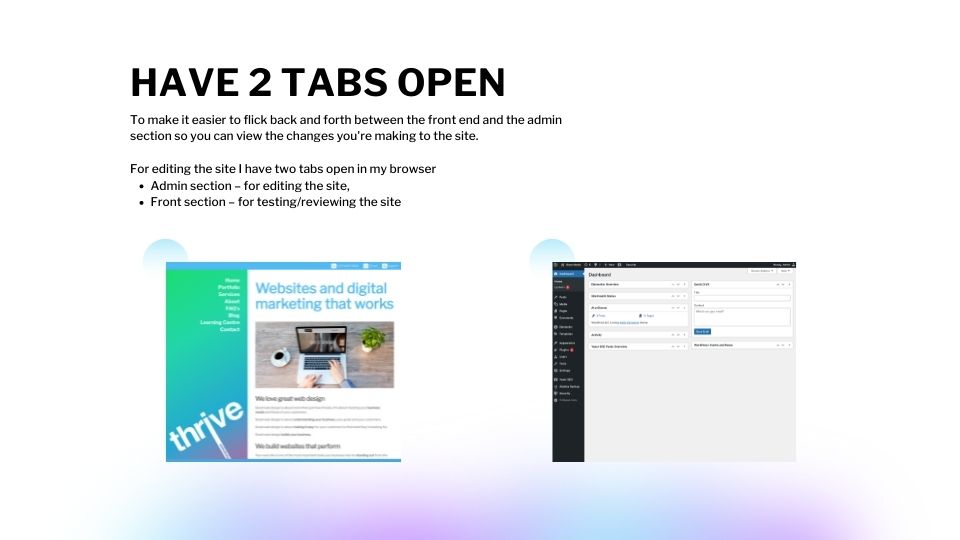
For editing the site I have two tabs open in my browser:
- Admin section – for editing the site,
- Front section – for testing/reviewing the site
This makes it easier to flick back and forth between the front end and the admin section so you can view the changes you're making to the site. Ensuring that they appear as expected.
Tools to use
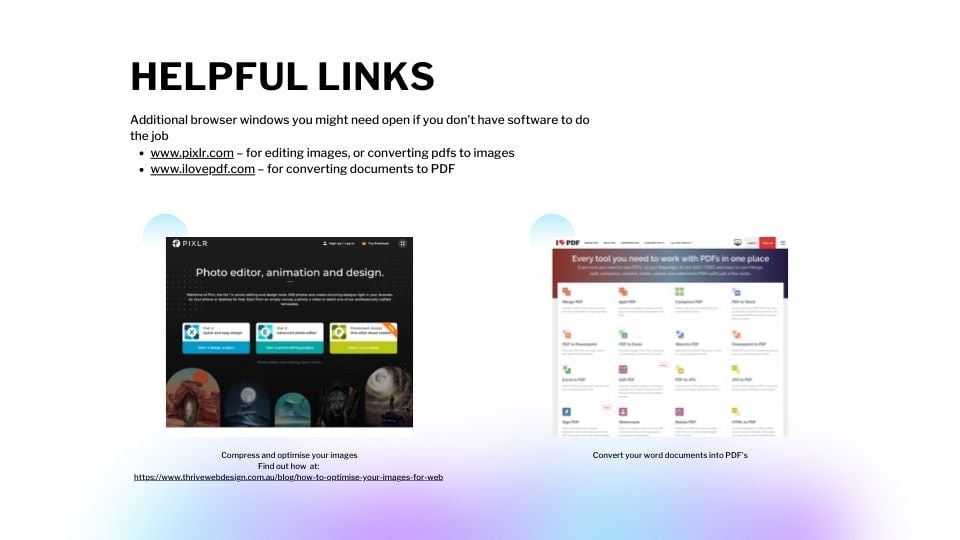
Additional browser windows you might need open if you don’t have software to do the job
- www.pixlr.com – for editing images, or converting pdfs to images
- www.ilovepdf.com – for converting documents to PDF
Get your assets ready
- Have your list of jobs ready to go
- I often have a document ready with all necessary changes, that I can mark off once each task is completed.
- Have all text written, and proofread, ready to copy into the site
- It's easiest to prepare the text for your changes in a Google doc, or word doc; let it percolate and revise it for a day or so; then complete your alterations and proofreading before you add it to the site.
- Have all Word documents converted to PDF
- Unless its specifically needs to be an editable Word doc, convert it to PDF for consistent viewing across all platforms.
- Have images compressed and optimised ready to upload
- This saves time at the website editing stage.
Naming files and images
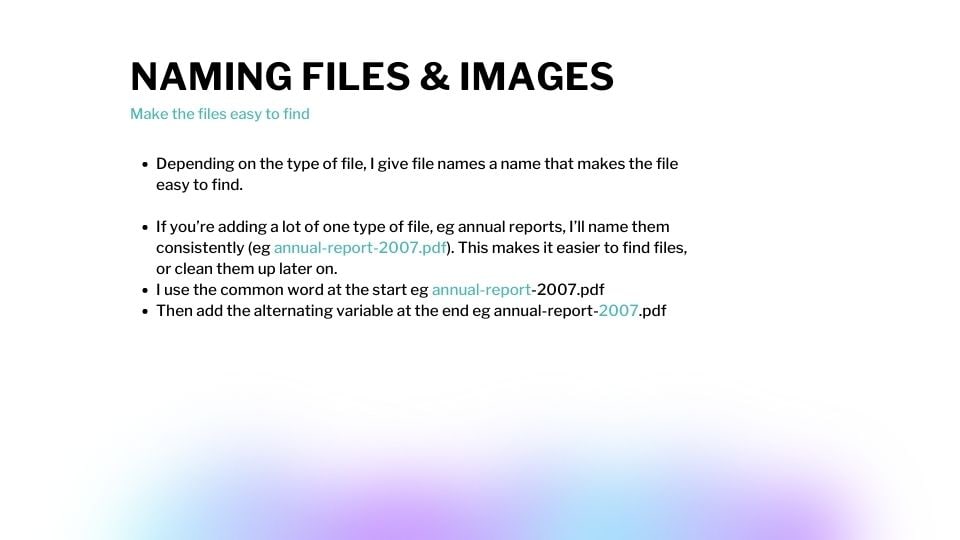
- Depending on the type of file, I give file names a name that makes the file easy to find.
- If you’re adding a lot of one type of file, eg annual reports, I’ll name them consistently (eg annual-report-2007.pdf). This makes it easier to find files, or clean them up later on.
- I use the common word at the start eg annual-report-2007.pdf
- Then add the alternating variable at the end eg annual-report-2007.pdf
